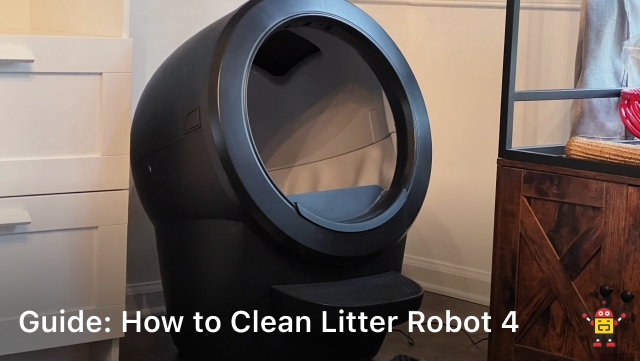
Guide: How to Clean Litter Robot 4
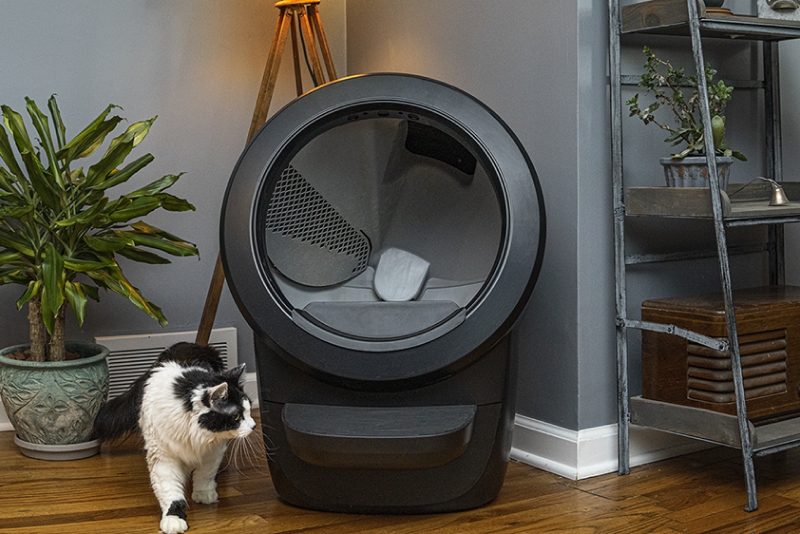
Hello fellow cat lovers! If you’re a proud Litter Robot 4 owner like myself, you know that keeping it clean is key to providing a comfortable and hygienic environment for your furry friend.
But sometimes, the thought of cleaning it can be overwhelming.
Fear not, for I will provide you with a comprehensive guide on how to effectively clean your Litter Robot 4!
By following these simple steps, you’ll be able to keep your Litter Robot 4 in optimal condition and ensure a clean and healthy space for your cat to do their business.
So let’s get started on how to clean Litter Robot 4!
Gather the Necessary Supplies
Before I start cleaning my Litter Robot 4, I make sure I have all the necessary supplies within reach.
This includes a mild detergent or pet-safe cleaner, warm water, a sponge or cloth, and gloves if desired.
Having all the supplies handy makes the process smoother, and I don’t have to stop in between to search for anything I might have forgotten.
Empty and Disassemble the Litter Robot 4
Before I can start cleaning my Litter Robot 4, I need to first empty and disassemble it.
First, I unplug the unit and remove the waste drawer.
Then, I make sure to properly dispose of any remaining litter.
Next, I follow the manufacturer’s instructions to carefully remove the globe and base.
I handle the unit with care to avoid any damage.
With the unit disassembled, I am ready to move on to the next step of cleaning.
Clean the Components
Now that the Litter Robot 4 has been disassembled, it’s time to clean the components.
I usually start with the waste drawer.
Because it’s narrow, I use a sponge to clean it properly.
Next, I move on to the base and globe.
I use a mild detergent and mix it with warm water and apply it to a cloth.
Then, I wipe down all the components, ensuring that every inch is thoroughly cleaned.
I pay special attention to any areas with residue or odor, making sure to thoroughly clean and rinse off any cleaning solution.
Clean the Sensor
The sensor of the Litter Robot 4 is typically located at the base of the unit.
I use a slightly damp cloth to wipe the sensor clean, making sure to remove any debris or litter that may have accumulated.
Do not use any cleaning solution on the sensor as it may cause damage to the unit.
Once all the components are clean and dry, it’s time to start reassembling the unit.
Reassemble the Litter Robot 4
Now that we have cleaned all the components, it’s time to reassemble the Litter Robot 4.
Follow the manufacturer’s instructions carefully to ensure proper reassembly.
Make sure all parts are securely attached and that the waste drawer is correctly aligned.
After reassembling, plug in the unit and make sure it functions correctly.
The globe should rotate smoothly, and the waste drawer should slide open and close without any problem.
If you notice any issues or abnormalities, refer to the manufacturer’s instructions for troubleshooting.
Now that everything is functioning correctly, you can reintroduce litter for your cat to use.
It’s always a good idea to keep an eye on the unit for the first few uses after cleaning to ensure that everything is working correctly.
With proper maintenance, your Litter Robot 4 will continue to provide a clean and hygienic environment for your furry friend.
Litter Robot 4 Maintenance Tips
Maintaining your Litter Robot 4 is an important task that can help prolong its lifespan and keep your cat’s litter box clean and hygienic.
Here are some helpful maintenance tips:
- Empty the waste drawer regularly: It is important to empty the waste drawer at least once a week to prevent any buildup and keep the unit functioning properly.
- Check for debris and clumps: Occasionally check for any debris or clumps that may have accumulated in the unit and remove them promptly to prevent any clogs or malfunctions.
- Use suitable litter: Ensure that the litter used is suitable for the Litter Robot 4. Avoid using clumping litter that may cause clogs.
- Wipe down the unit: Occasionally wipe down the unit with a mild detergent or pet-safe cleaner to prevent any buildup or odors. Pay extra attention to the sensors and any areas with residue.
- Follow manufacturer’s guidelines: Always follow any specific maintenance guidelines provided by the manufacturer to ensure optimal performance of your Litter Robot 4.
By following these simple maintenance tips, you can ensure a clean and hygienic environment for your furry friend and prolong the lifespan of your Litter Robot 4.
Conclusion
Cleaning my Litter Robot 4 may seem like a daunting task, but by following these simple steps, I can ensure a clean environment for my furry friend.
By regularly maintaining and cleaning my unit, I can keep it in optimal condition, providing a safe and hygienic environment for my cat.
Remember to always use pet-safe cleaning products and handle the Litter Robot 4 with care to prolong its lifespan.
Happy cleaning!
FAQ
How often should I clean my Litter Robot 4?
It is recommended to clean your Litter Robot 4 at least once a week to maintain optimal performance and hygiene.
Can I use any cleaning products to clean my Litter Robot 4?
It is important to use mild detergent or pet-safe cleaners when cleaning the Litter Robot 4 to avoid any potential harm to your furry friend.
How do I disassemble the Litter Robot 4?Start by unplugging the unit and removing the waste drawer. Follow the manufacturer’s instructions to carefully remove the globe and base.
What should I use to clean the components of the Litter Robot 4?
Dilute a mild detergent or pet-safe cleaner with warm water and use a sponge or cloth to wipe down all the components.
How do I reassemble the Litter Robot 4?
Once the components are clean and dry, refer to the manufacturer’s instructions to securely reassemble the Litter Robot 4.
How can I maintain my Litter Robot 4?
Regular maintenance includes emptying the waste drawer, checking for debris or clumps, and occasionally wiping down the unit to prevent buildup. Use suitable litter and follow manufacturer guidelines.
